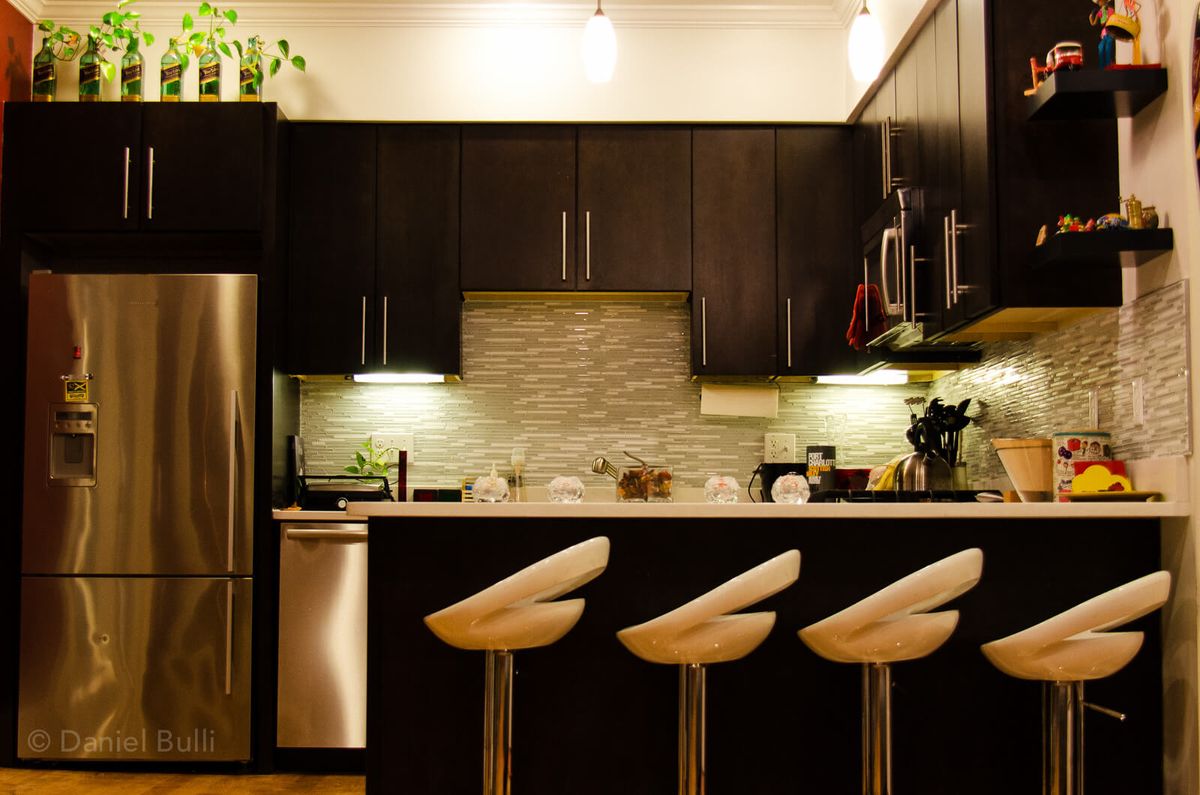
Kitchen Backsplash

So we have always wanted to do a backsplash, and somehow wanted to do ourselves. With family coming to visit, we desired to undertake task.
Step 1: Research
Read lots of links and watched a few videos to get an idea what was in store. Here are some of the ones that we found useful:
- Home Depot: How To Install a Tile Backsplash
- Lowes: How to Install a Tile Backsplash
- diy Network: Install a Tile Backsplash
- The Family Handyman: How to tile a Backsplash
- Grouting
- Apply clear seal
Step 2: Pick & Order backsplash tiles
Pick and order backsplash tiles. Went to Home Depot and Lowes, but couldn't find anything we liked. Next we went a local tile company, and while we found more options the price was too much. Upwards of $40 and they knocked off $5 without batting an eye, which lead us to believe the markup was allot more. Finally we went to google and of all the sites backsplash.com stood out. Site was fairly modern, and they had their design tools allowed us to get an idea how it looked.
We order a sample of BA1154 – Glass & Marble to see it in person and loved it, and placed order. Warning: the marble is very fragile and lots end up broken. Luckily their customer service was really really great and sent us replacements.
Step 3: Get all supplies
The Lowes and Home Depot links above will let you know all you need to get. The only thing that was an issue was the wet saw. Being novice renting from Home Depot means that we would be limited by time and would feel rushed. Amazon had a cheap wet saw that worked out amazingly, and we could work at our own pace without worrying about time, and now we have a wet saw. Everything else was basic and Home Depot workers provided great recommendations.
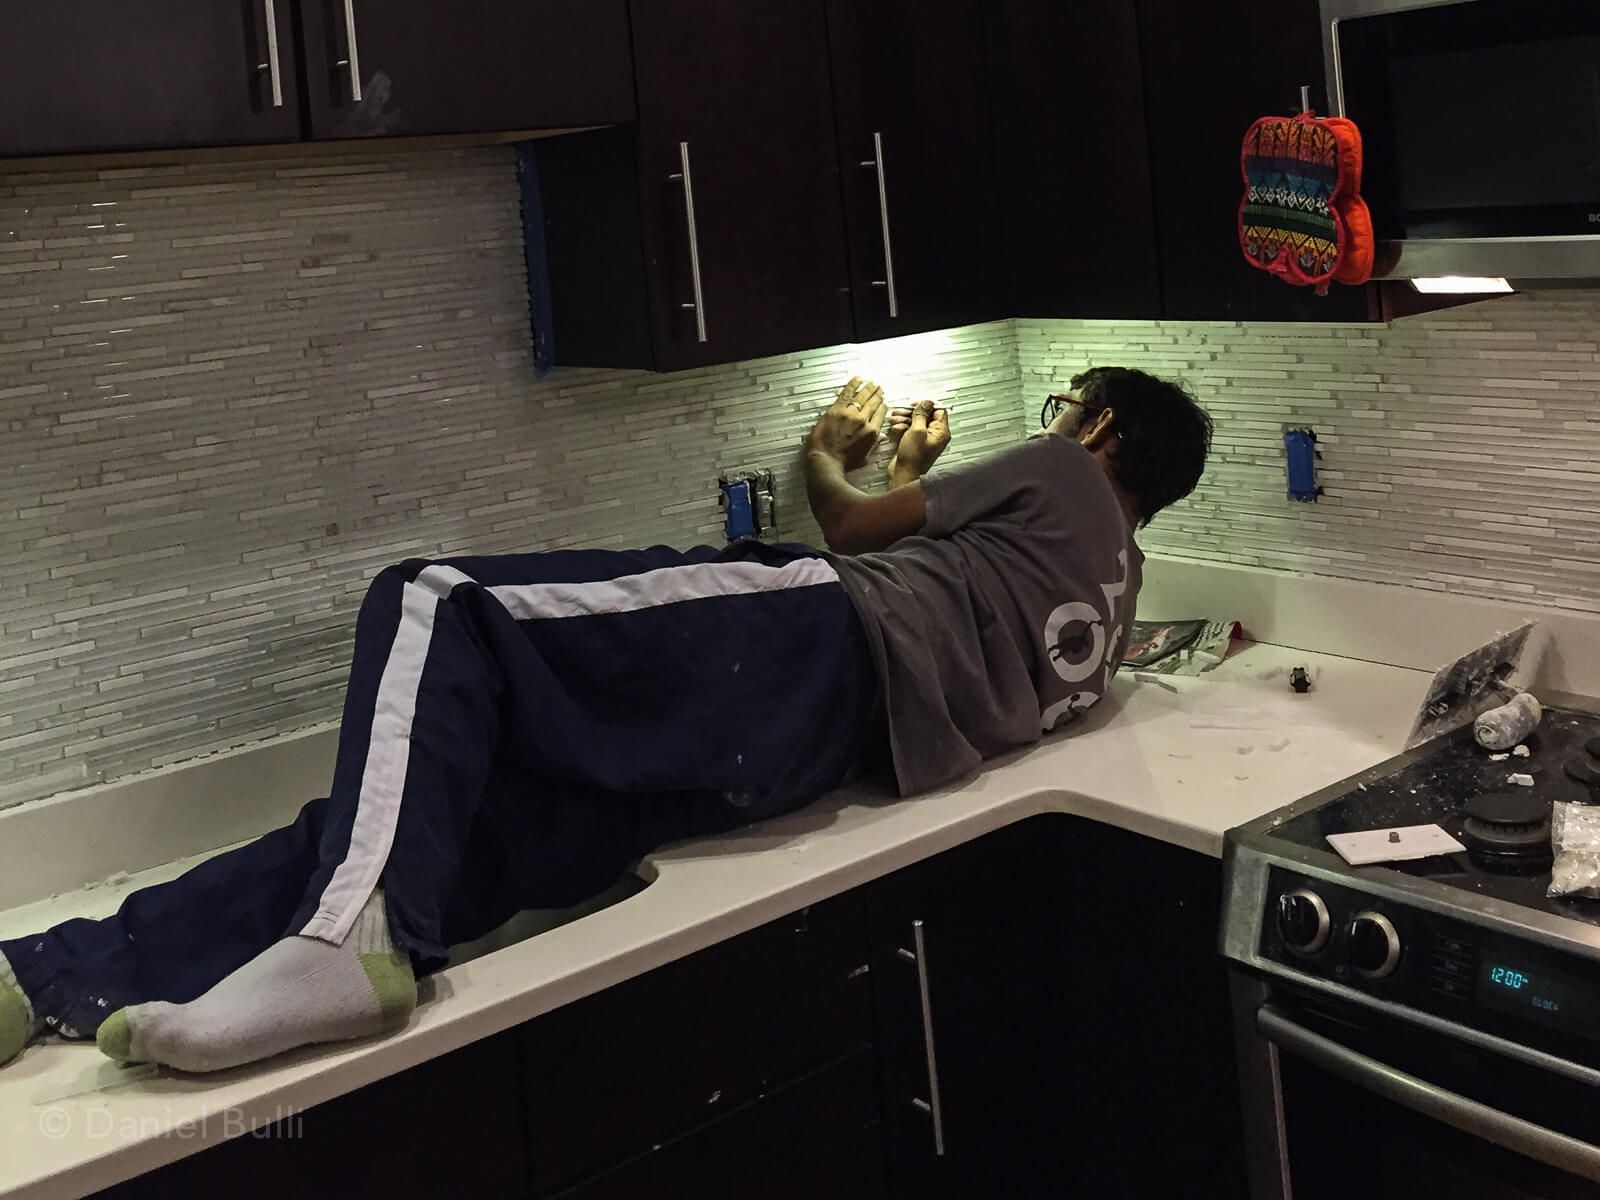
Step 4: Prep & Install tiles
This was basic, following all the instructions from research. All the sites recommend starting from center and working way out. We ignored and started at the ends and really didn't have any issues. We got better as we went on. The tidbits that maybe of use to some:
- Don't use too much adhesive. With the trowel, press all the way down so you don't have too much seeping through
- Clean adhesive between tiles when it's wet, otherwise it's hard to clean once it has hardened
- Work fast, once the adhesive starts to dry it's not as good
- Anything tiles you can precut, will help speed things up
- Kill power to all plugs
- Whatever you estimate for time, it's going to be longer, and cleanup takes allot of time, which never seems to be factored in
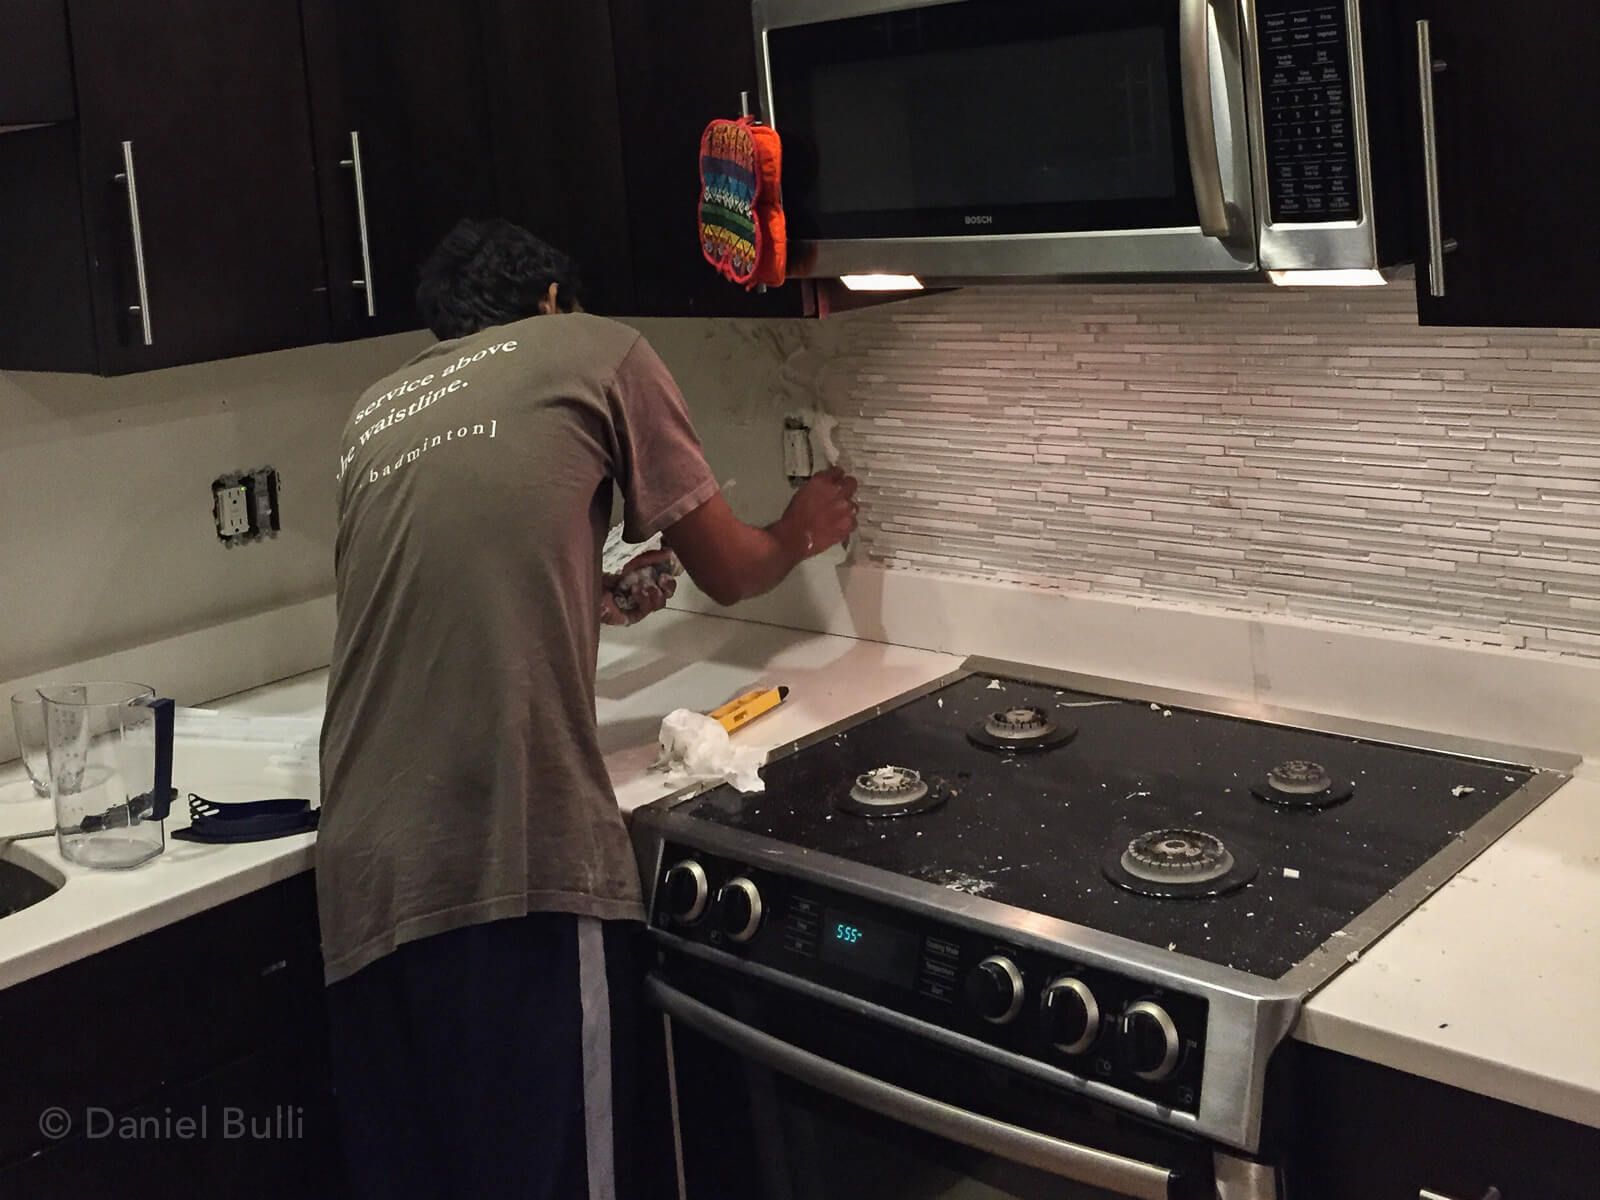
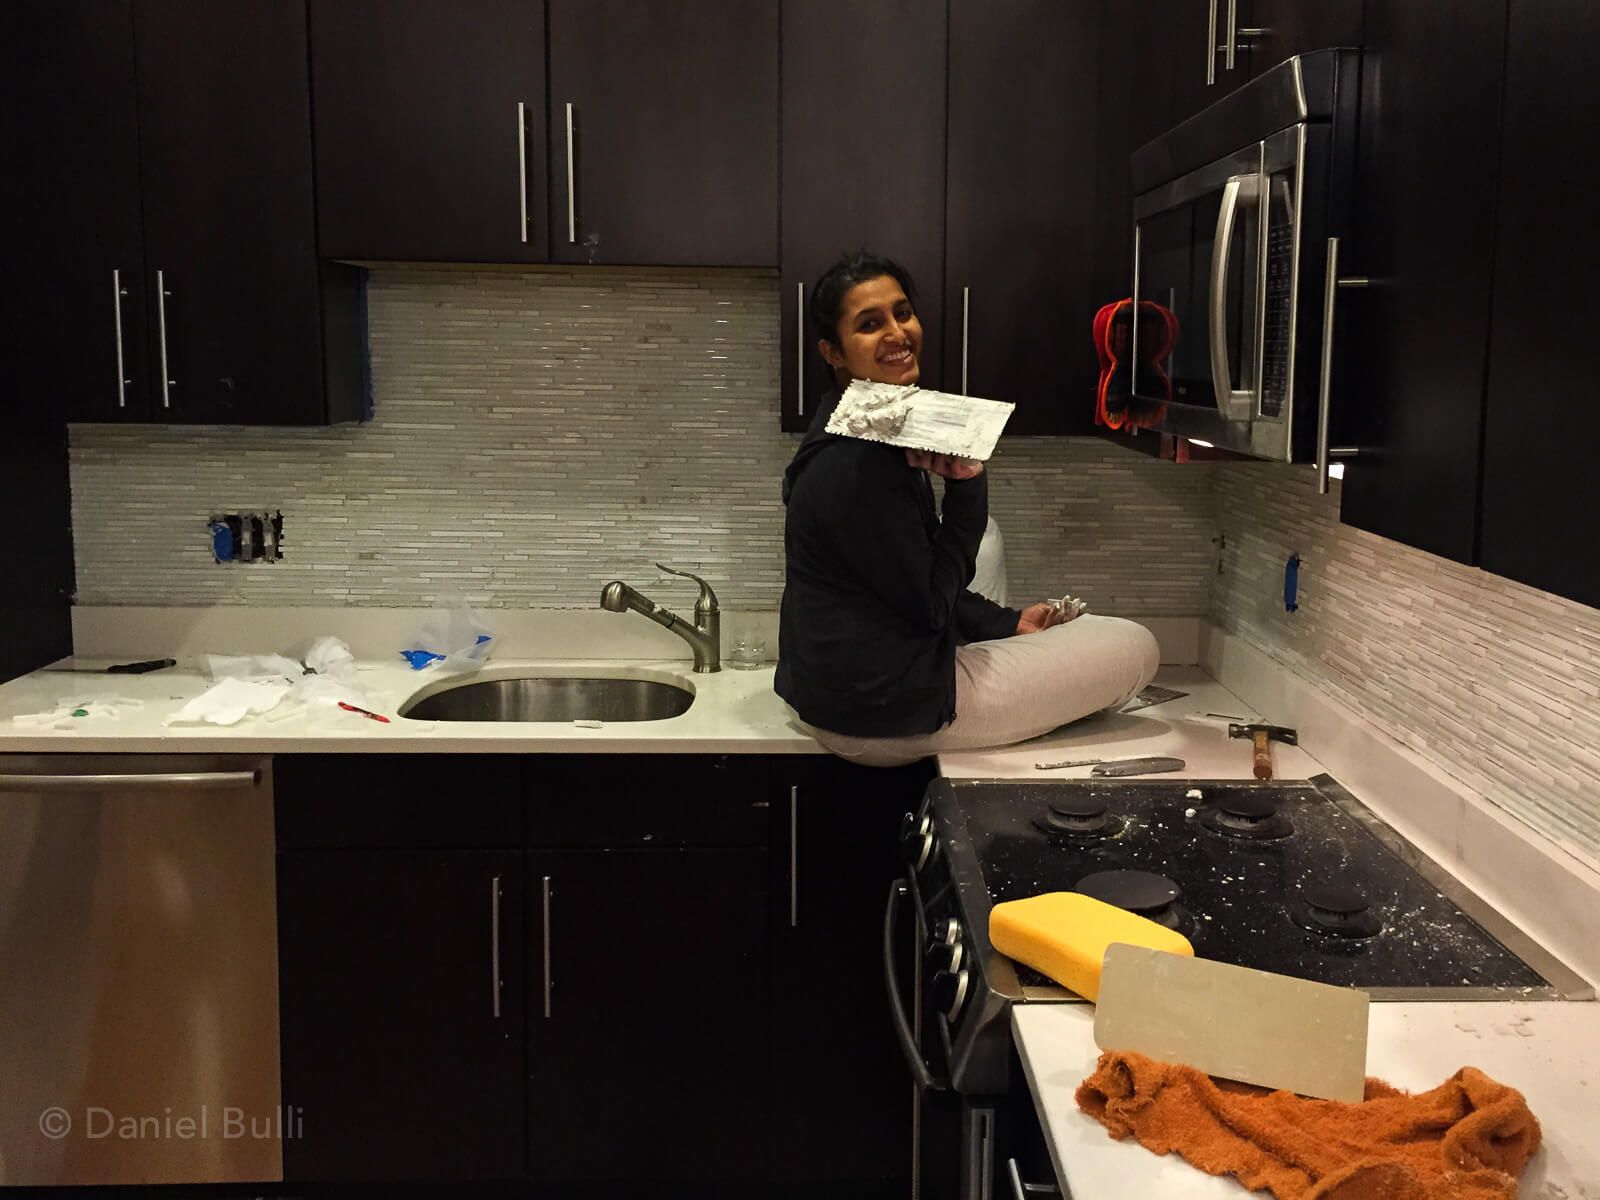
Step 5: Grout
Fairly "simple" using video above. Took lots of time, but here are the useful info we learnt
- Again work fast as you can, grout dries fast
- No need to be perfect, spread liberally and then scrape off with the rubber grout float
- After about twenty minutes wipe off with sponge, clean often. If you do too soon grout will start to pull out as you wipe
- Don't get scared, when you grout it looks dark, but will dry to the color you chose
- Cleaning grout from bucket and tools is tedious
- If you cleaned excess adhesive when it is wet, then you wouldn't have to do small scrapings as if in a surgery like us
Step 6: Caulk & Apply clear seal
This step is fairly straightforward, but admittedly did not do an excellent job with the caulk. Not used my self, but caulk ez looks like a worthwhile investment.
Step 7: Put everything back in place
The only thing that links did not tell us, was that the sockets would be recessed if you put right back on. The only recommendation was longer screws which was incorrect. You can use wall socket extenders before you start, or if you wait till the end like us, then electrical spacers did the job pretty well.
Step 8: Enjoy!
This is not as easy (or quick) as links let you believe if you have never done this before, but it's a worthwhile investment. Not only will you save money, but you get the satisfaction of doing it yourself. There will be minor imperfections that only you will notice, so don't stress about them, no one else will even care or notice.